Once upon a time (circa. 2015), it would cost you for a few dozen bucks, to a few hundred dollars, per year, to get that shiny green little locky thingy appear on your URL bar in the browser. The cost would be justifiable for someone that runs a large business on the web, not so much for small companies or someone who occasionally runs a random httpd somewhere, like me. That was the dark time of the internet.
Now, with the help from EFF, Mozilla, and University of Michigan, Let’s Encrypt was born in 2015, and their mission is to offer digital certificates to anyone in order to enable HTTPS (SSL/TLS), for free. As in free beer.
Meanwhile in Mountain View, SPDY, the cool stuff that Google has been working on, has finally come to fruition: HTTP/2. It features multiplexing, server push, data compression, and other great stuff. Sounds awesome, right?
Did I mention that you probably need TLS to run HTTP/2, and no browser support unencrypted HTTP/2? With these configs, not only the connections are secured between client and server, but also serves faster to the client:
# Put this in /etc/nginx/ssl.conf so it can be reused# loosely base on thishttps://gist.github.com/StefanWallin/5690c76aee1f783c3d57#file-ssl-conf# POODLE attack fix, will screw IE6 ssl_protocols TLSv1 TLSv1.1 TLSv1.2; ssl_prefer_server_ciphers on; # disable weak ciphers, will screw IE6, minimum browser is IE7 on Vistassl_ciphers 'kEECDH+ECDSA+AES128 kEECDH+ECDSA+AES256 kEECDH+AES128 kEECDH+AES256 kEDH+AES128 kEDH+AES256 DES-CBC3-SHA +SHA !aNULL !eNULL !LOW !MD5 !EXP !DSS !PSK !SRP !kECDH !CAMELLIA !RC4 !SEED'; # Generated by OpenSSL with the following command: # openssl dhparam -out /etc/nginx/dhparams.pem 2048 ssl_dhparam /etc/nginx/dhparams.pem; # HSTS (ngx_http_headers_module is required) (15768000 seconds = 6 months) add_header Strict-Transport-Security max-age=15768000; # OCSP Stapling, IE7+ ssl_stapling on; ssl_stapling_verify on; # optional: turn on session resumption, using a 10 min cache shared across nginx processes # as recommended by http://nginx.org/en/docs/http/configuring_https_servers.html ssl_session_cache shared:SSL:10m; ssl_session_timeout 10m; keepalive_timeout 70; # Buffer size of 1400 bytes fits in one MTU. # nginx 1.5.9+ ONLY ssl_buffer_size 1400;
Then in your site’s configuration:
############
# *.foo.com
#

# HTTP > HTTPS redirect
server {
    listen         80;
    server_name    www.foo.com foo.com alias.foo.com;
    return         301 https://$server_name$request_uri;
}

# HTTPS Server
server {
    # HTTP2
    listen 443 ssl http2;
    ssl on;

    # the ssl conf up there
    include ssl.conf;

    ssl_certificate /etc/letsencrypt/live/foo.com/fullchain.pem;
    ssl_certificate_key /etc/letsencrypt/live/foo.com/privkey.pem;

    # no slash at the end of directory
    root /var/www/foo.com/www;
    server_name    www.foo.com foo.com alias.foo.com;

    index index.html index.htm index.php;

    location / {
        # First attempt to serve request as file, then
        # as directory, then fall back to displaying a 404.
        try_files $uri $uri/ =404;
    }

    include hhvm.conf;

    #error_page 404 /404.html;

    # deny access to .htaccess files, if Apache's document root
    # concurs with nginx's one
    location ~ /.ht {
        deny all;
    }
}
Finally, provided you have installed certbot:
certbot --nginx certonly
The certificate will expire in 90 days, that means you need to put
certbot renew
in your crontab, so the certbot will refresh your certificate every once in a while.
After a service nginx reload , that shiny green little locky thingy should appear on your URL bar, in your browser.
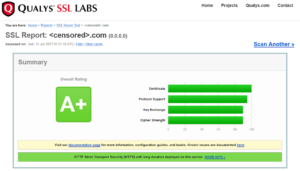
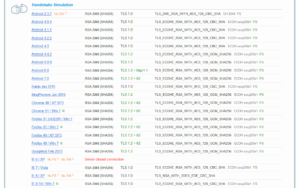
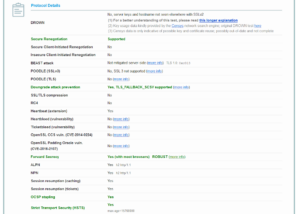
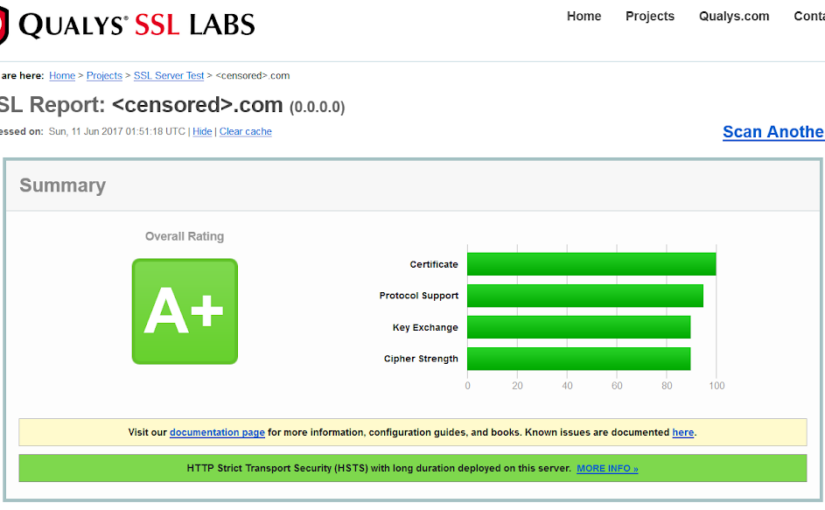
Let’s verify your newly secured website with the tool provided by Qualys SSL Labs:


